
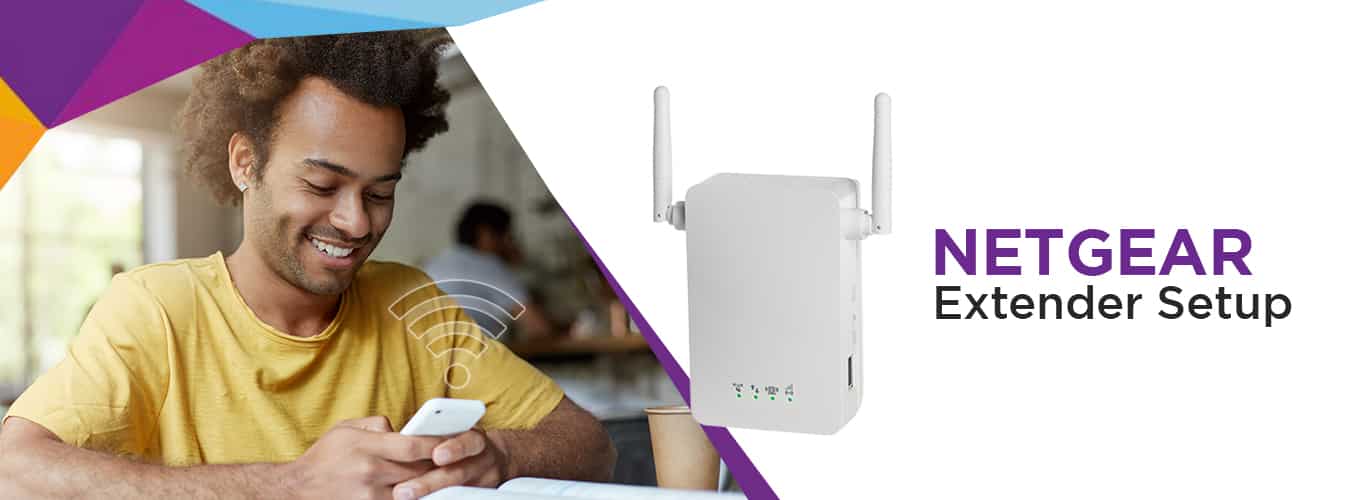
How To Do Netgear Extender Setup Easily By Two Different Methods?
Usually, when people wish to extend the WiFi range, the general way to go about it is to opt for a range extender. And there is nothing better than choosing an extender which is from a brand like Netgear. This is because they are so popular as they help their users to make the most of their WiFi connections. The Netgear Extender Setup is available in all sizes, shapes, and specifications so that it can cater to everyone’s needs and preferences. So whether you are on a budget or you have been eyeing a really pricey router, you can get it all in here according to the best fit for all your WiFi needs.
Are you someone who wants to use an extender for your gaming? Or are you someone who wants to stream and therefore needs high speed internet? No matter what you need it for, you will inevitably need to perform the proper setup first so that you can start using it without having to face any kind of hassle. If you keep reading this guide further, you will get more familiar with all the different things you will need to know about the Setup. So without any further ado about it, let us get started.
You should know that there are specific prerequisites that you will need to take care of before you get to the extender setup process. Get the following things in order, and then you will be able, to begin with, your new extender’s setup process.
The Prerequisites Needed
1. High-Speed Internet
2. An Ethernet Cable
3. A WiFi Router
4. Working Power Outlet
5. A WiFi Range Extender
Now once you have figured that all out, let us help you out so that we can have your Netgear WiFi range extender up and then run it by configuring it.
The Setup
On top of everything else, you need to always keep in mind that you will have to meet all requirements so that you can have an issue-free extender setup. After you are done configuring it, you will be able to run it as well.
1. Firstly, you will have to spot your WiFi extender in the same room as your home router.
2. Secondly, you will need to ensure that your extender is getting the proper power supply or not.
3. This would be trailed by a serviceable home wifi network.
4. It will be constantly prescribed so that it can introduce more than one internet browser on your computer or laptop. There may come a difficult circumstance that may emerge at the time of neglecting to sign in to the new extender setup page. The primary reason, in most cases, is an internet browser issue. At such a time, you will need to have one browser which you can use if the other one is not working at that particular time.
So, you will need to keep in mind these few essentials as the primary concern before you try to install a new range extender. Now, you can proceed with the setup instructions given below.
Netgear Extender Setup using Mywifiext
If you wish to perform the Extender Setup, then there are two ways to do it. First, if you have a router and extender, both of which support the WPS button, it would be better to execute the WPS method. Second, and for those who do not have any WPS-supported devices, the manual method would be the best so that their extender gets working.
Method 1. Manually Configuration
This strategy is also called the Web Browser Setup, so do not get confused. These are the rules that you will need to follow so that you can set up your device:
1. Firstly, you would have to unpack your Netgear extender and then attach its antennas.
2.Secondly, if you see that there are no additional antennas available for your extender model, you can ignore that and proceed further into the process.
3. Thirdly, turn the power on for your device and then insert its power socket into a working outlet.
4. At this step, with the help of an Ethernet cable, you will have to connect your extender to the router or the Access Point.
5. After you are done with that, you will need to check the power LED of your extender. The color of the light should be green.
6. Now, you will have to turn on a computer or another gadget that you would be using and then launch a web browser.
7. In order to do the extender setup, you will need to enter the default Netgear Extender Setup website URL. You would need to do this in the web address bar. Also, the address to be used would be Mywifiext.net.
8. Here, as soon as you press the Enter after you have entered the web address, you will get redirected to the extender setup login page.
9. You will now need to enter the username and the password of your extender and then select the option for Login.
10. Soon after, you will see that the new extender setup wizard will appear on your computer’s screen.
11. With this, you will be able to head towards the settings of your device. Later, you will also be able to locate the list, which will show all the wifi networks.
12. Post that, you will have to choose the WiFi network. This would have to be the one that you would have been currently using from the list.
13. Nearing completion, you will then be further guided by various on-screen instructions so that you can complete the Netgear extender setup process without any hassle.
14. Lastly, just keep on following the instructions. Do this till you are done with the setup of your new WiFi range extender.
You have done great! With this technology, you would have successfully finished the new extender setup. Now you will be free to put your extender at any place of your liking. All things considered, we will advise you to follow all the steps mentioned above in the most accurate manner. If you see any flaws in the execution of the entire setup process of the extender, they can easily and quickly push you to perform the reset and then again go for the installation back from scratch.
Method 2. WPS Method
WPS or the WiFi Protected Setup is one of the easiest ways to employ if you wish to set up your Netgear Extender. All you will need to do is abide by the steps given below:
1. Firstly, you will need to ensure that your Extender is switched on.
2. After this, you will need to search for the WPS button. It will be available on your device, and once you locate it, you will need to press it. You would be pushing the provided WPS button on the existing router.
3. Soon after, you will see that the LED light would turn into a solid green color. It would be a sign that your router’s configuration has been completed correctly.
4. If you use a dual-band ranger extender, you will have to repeat this progression again.
5. In the final stage, you will be able to connect to the Extender’s network. Along with that, you will be able to use the same passphrase just as your router’s network.
6. You would be able to see the manual for the default username and the password alike.
7. After you can connect all your wifi devices and enjoy a seamless and super-fast internet connection throughout your house or office, you will know that your Extender would be ready.